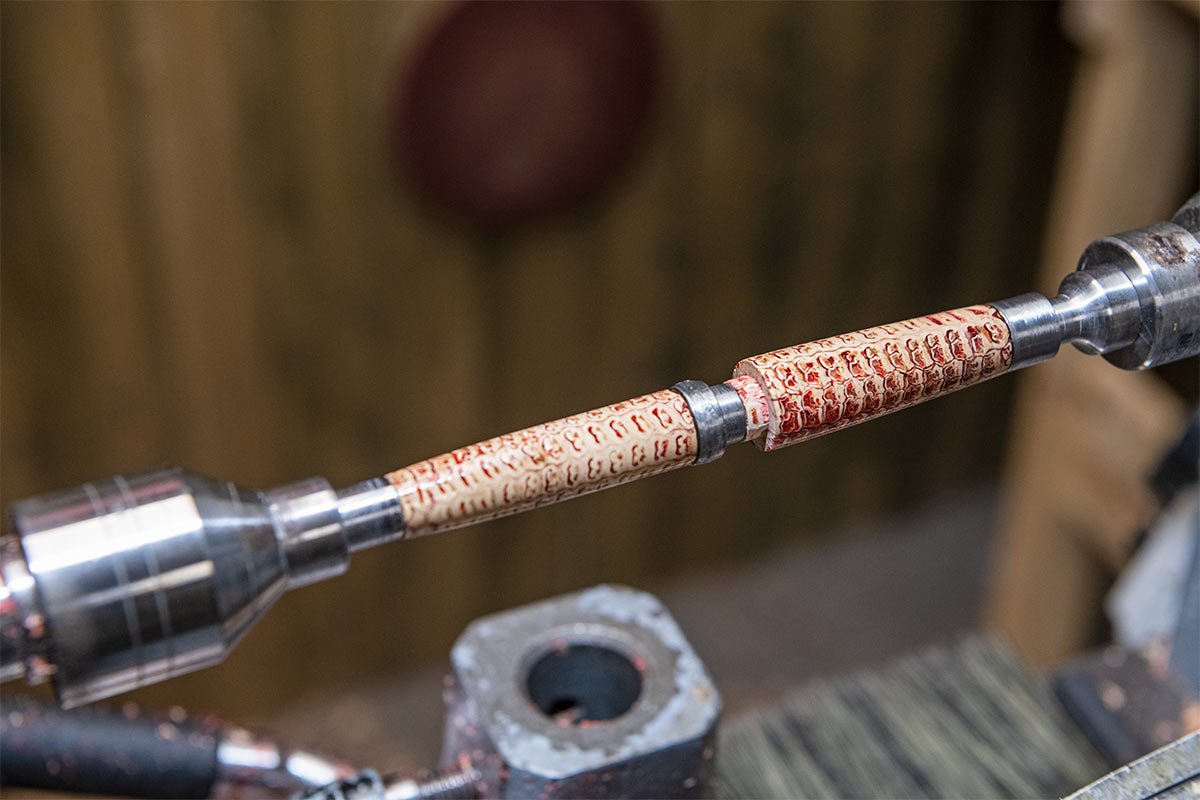

Corn cob cores. Not the first thing you think of when talking about woodturning. However, these cores, when dried, are a great alternative turning material for small projects.
In this Woodworking Wisdom demo, Colwin shows you how to stain and prep a dried corn cob ready to turn into a unique and beautiful pen.
Watch our Woodworking Wisdom Demo below, or follow or step by step guide.
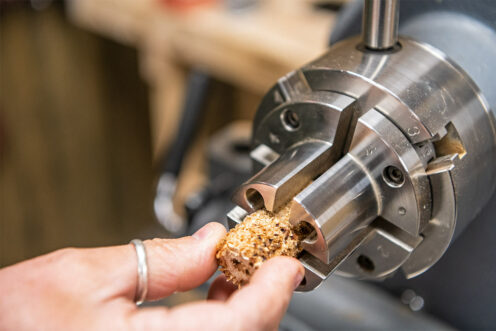
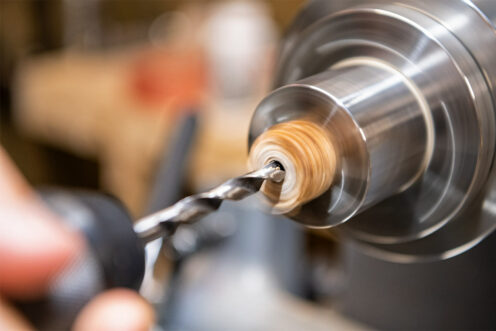
Begin by drying your corn cob cores in the sun for a couple of days. Once dry, hold them in a set of pen jaws to drill. Don’t tighten too hard at this stage as the corn is still fairly soft. Start with a 7mm hole and be prepared to ream out when the stabilizing has been completed, as this will fill or expand the fibres.
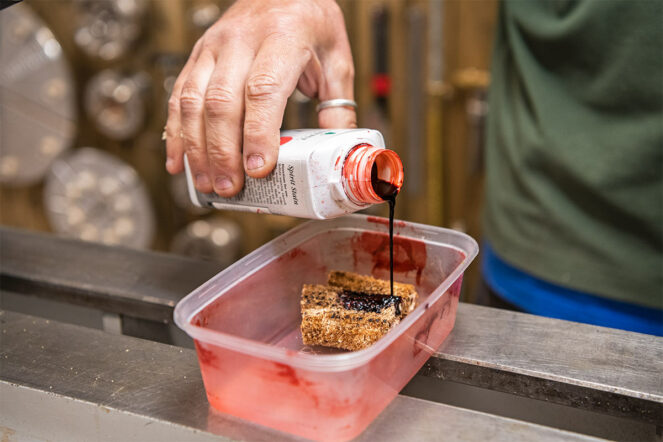
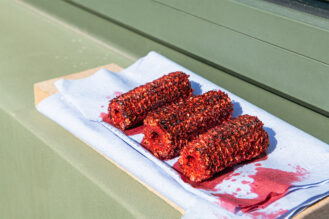
Add the cob cores to a plastic dish ready for the wood stain. It's important you use a spirit stain and not a water-based stain, as you will need the extra penetration of a spirit to ensure the colour holds.
Leave to soak for a couple of hours before leaving in the sun to dry fully. A couple of hours at least will be needed.
Next, add super glue to the corn cob. Start by soaking the centre first before adding more glue to the outside. This ensures the coverage is good.
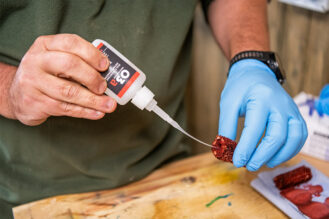
Once the glue has thoroughly dried, hold the blanks back in the pen jaws and ream the centre hole to suit the pen kits you're making.
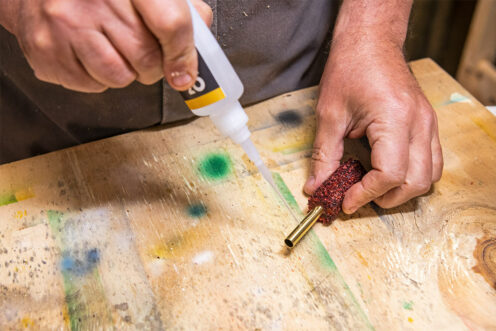
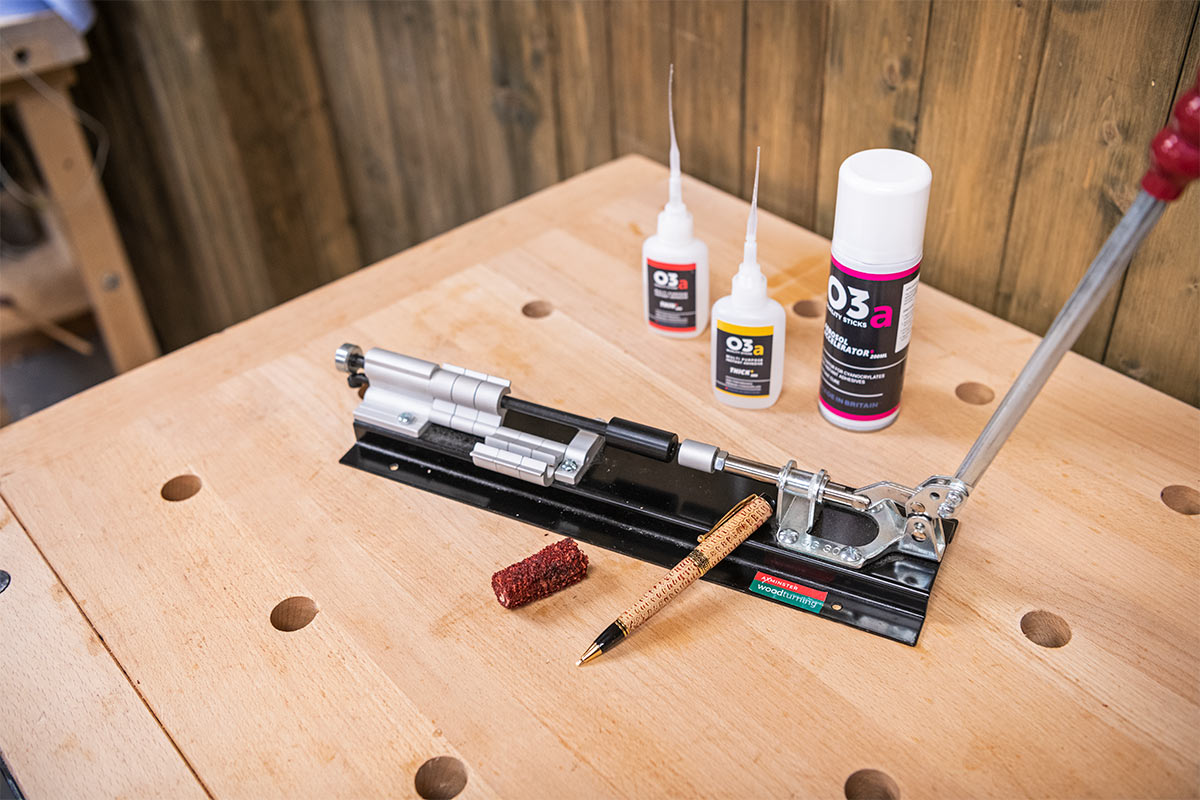
Now, using the slow CA glue, insert your tubes. You can use an accelerator to speed the process up, but only after the tube has been pushed all the way into the blank.
Once the glue has dried, trim the ends clean with a barrel trimmer.
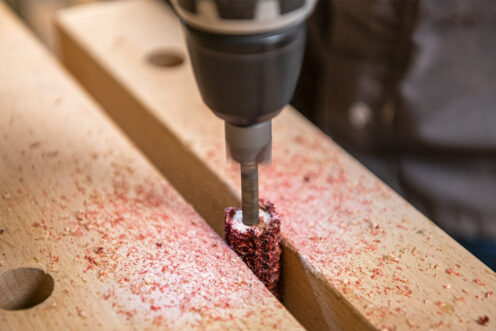
Use the bushing to match your pen kit and add the blanks and bushing to the pen mandrel.
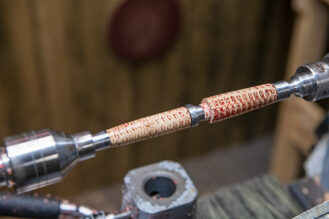
Rough the blank down with a small bowl gouge and then add any decoration or detail the pen requires. In this case, a small tenon is needed to attach the centre band.
Turn to a good finish and diameter of the pen bushings and sand to a good finish.
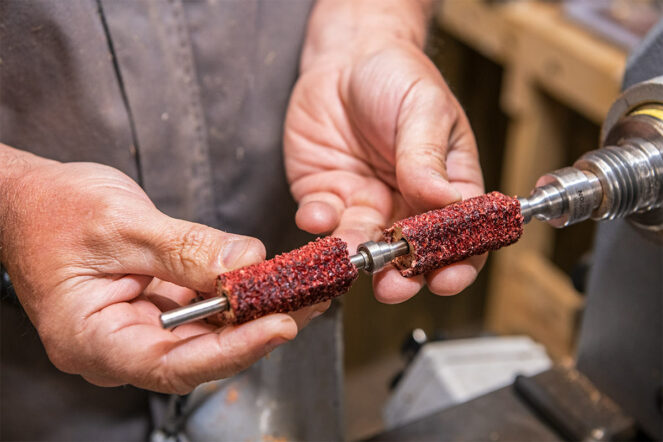
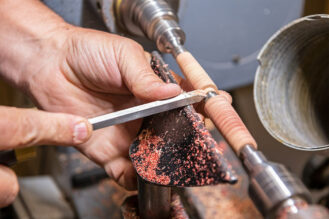
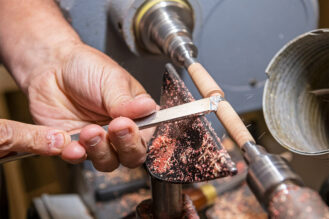
Finish the pen with CA glue. First fill any remaining voids with a thick CA and allow to dry before sanding back. While the lathe is running at 800rpm, add some thin CA to a piece of tissue, and run along the pen blank (do not overload the glue) little and often with the glue. The more coats you put on, the higher the gloss will become.
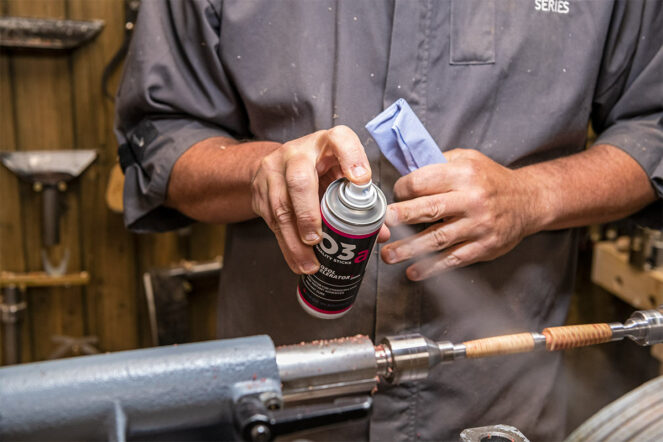
Use accelerator from time to time and remember not to add too much glue at once.
You can add as many coats as you want, and once dry polish with fine true grit or acrylic polish.
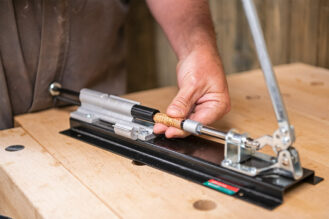
Assemble your pen using a pen press.
Updated 15 June 2023


Keep up to date with the latest news, products and promotions.
Join The Conversation Get Advice From Our Experts Deliver to:*Finance provided by PayPal Credit. Terms and conditions apply. Credit subject to status, UK residents only, Axminster Tool Centre Ltd trading as Axminster Tools acts as a broker and offers finance from a restricted range of finance providers, PayPal Credit is a trading name of PayPal UK Ltd, Whittaker House, Whittaker Avenue, Richmond-Upon-Thames, Surrey, United Kingdom, TW9 1EH.
**Credit subject to status and affordability. Terms and conditions apply. Axminster Tool Centre Ltd trading as Axminster Tools is a credit broker and is Authorised and Regulated by the Financial Conduct Authority. Credit is provided by Novuna Personal Finance, a trading style of Mitsubishi HC Capital UK PLC, authorised and regulated by the Financial Conduct Authority. Financial Services Register no. 704348.
© Axminster Tool Centre Ltd 2024. VAT No: GB 161 4679 00. Company No: 03326979.
Customer Account The outline of a person
Customer Basket A shopping basket with a handle
British Made British Made logo
Bulk Buys A star with lots of points
Business Services A building with a door at the front
Catalogue Axminster Tools Catalogue
Categories View categories
Click & Collect A shopping bag with a handle
Clock A clock face showing the time
The Community Axminster Tools & Machinery Forum Logo
Compare Compare products
Delivery A van delivering parcels
Premium Delivery A van delivering parcels fast
Copy Copy to the clipboard
Email An envelope
Eventbrite The logo for the Eventbrite website
Expand Two arrows pulling away from each other
Facebook The logo for Facebook
Filter Dots in a triangle shape pointing down
finance A wallet
Instagram The logo for Instagram
iwocaPay iwocaPay payment logo
LinkedIn The logo for LinkedIn
Location A location marker
Made in Britain Made in Britain logo
Menu Three Horizontal lines stacked on top of each other
Notification A notification bell
Partner Buy from our Partners
Pay By Finance Novuna Finance Logo
PayPal PayPal payment service logo
PayPal Credit PayPal credit payment service logo
Phone An old style telephone receiver
Pinterest The logo for Pinterest
Point Right An arrow in a circle pointing right
Printer A printer, printing a piece of paper
Remove Two lines in a x shape
Return An arrow in a circle pointing back to the start
Rewards Axminster Tools Rewards
Settings View Settings
Sort One arrow pointing up, one arrow pointing down
Spin A circle that spins to show that the page is loading
Stock A circle which is coloured to show the current stock level
Tag A clothing label tag
Teachable The Logo for Teachable
Tick A tick symbol
Trade Account Saving tag icon
Unavailable A no entry sign
Video Play A Circle with a video play symbol inside
Warranty A screwdriver and a spanner in an x shape
WhatsApp The logo for WhatsApp
Wishlist A heart symbol
Wood Outline Wood effect
YouTube The logo for YouTube